Optimizing Surface Finishes: A Guide to Precision and Performance
- World Class Manufacturing
- Jan 19
- 3 min read

Surface finish defines the functionality of a CNC-machined part. It is not merely an aesthetic choice. A poor finish increases friction, accelerates wear, and compromises seal integrity. Conversely, an optimized finish ensures proper fit and reliable performance.
We approach surface finish as a critical engineering specification. Multiple variables influence the outcome, from tool geometry to coolant application. Controlling these factors allows us to meet rigorous standards consistently. This guide outlines how we manage these variables to deliver precision.
Understanding Surface Finish Metrics
Surface roughness consists of fine irregularities on a machined texture. We rely on specific metrics to quantify this data and ensure compliance with prints.
Ra (Average Roughness): This is the arithmetic average of height deviations from the mean line. It provides a baseline for surface smoothness.
Rz (Mean Roughness Depth): This measures the average of the maximum peak-to-valley heights across several sampling lengths. It offers a more robust view of texture variations than Ra.
Rmax (Maximum Roughness Depth): This identifies the single largest peak-to-valley height. Rmax helps detect specific anomalies that could compromise part integrity.
Understanding these distinct metrics ensures the correct parameters are monitored. A sealing surface requires a different profile than a cosmetic housing.
Critical Variables in CNC Machining
Controlling surface finish requires managing the interplay of multiple manufacturing factors. We focus on four primary areas.
Tool Geometry and Condition
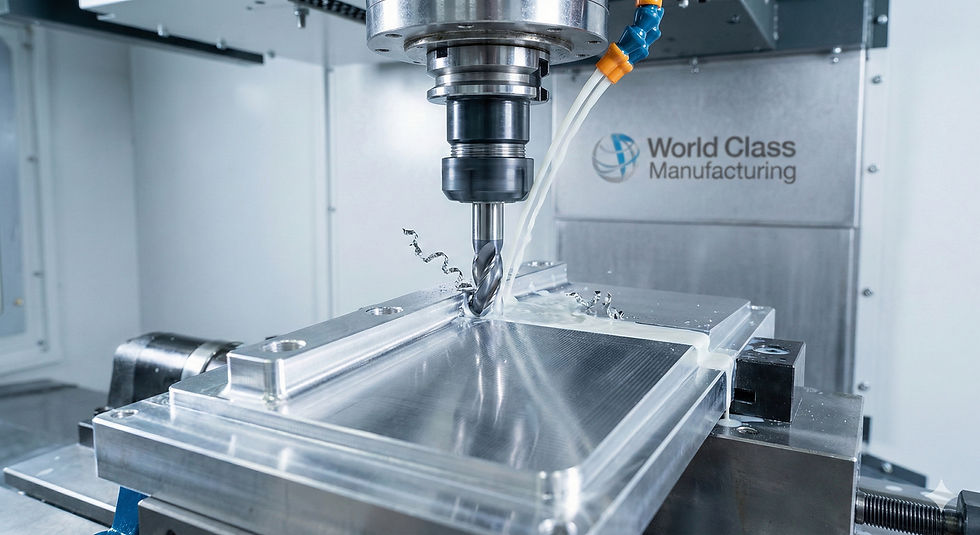
The state of the cutting tool is paramount. Sharp, rigid tools produce clean cuts, while worn edges cause tearing. We also select tools based on geometry. For example, a larger nose radius distributes cutting forces over a wider area, generally resulting in a smoother finish.
Machining Parameters
Speed and feed rates directly impact surface quality. Higher cutting speeds often yield smoother surfaces but increase thermal load. Lower feed rates improve the finish but extend cycle time. We balance these parameters to optimize both quality and efficiency. You can review our CNC machining capabilities to understand how we manage these complex specifications across different part geometries.
Material Properties
Different materials react differently to machining forces. Aluminum may suffer from built-up edge (BUE), where material adheres to the tool. Stainless steel often work-hardens. We adjust our approach based on the specific metallurgy of the workpiece to prevent surface degradation.
Coolant Strategy
Coolant does more than reduce heat. It clears chips and lubricates the cutting zone. We select the coolant type—oil-based for ferrous metals or water-based for others—to match the application. A consistent, high-pressure flow flushes chips that could otherwise score the surface.
Techniques for Superior Finishes
When standard machining cannot meet a specific Ra requirement, we employ secondary processes to refine the surface.
Polishing: We use abrasive media to remove microscopic imperfections. This is effective for parts requiring low friction or high reflectivity.
Grinding: This process uses abrasive wheels to achieve extremely tight tolerances. It is standard for mating surfaces that demand high precision.
Honing: We utilize honing for internal bores to improve roundness and surface texture. This is critical for cylinder liners and hydraulic components. We integrate these steps into our comprehensive manufacturing workflow to deliver ready-to-assemble components.
Surface Treatments: Coatings like Titanium Nitride (TiN) or anodizing enhance wear resistance and protect the substrate.
Measurement and Verification
We validate our work through rigorous inspection. Relying on visual checks alone is insufficient for precision manufacturing.
We utilize profilometers and surface roughness testers to scan surface textures. These devices generate data profiles that we compare against ISO standards. This ensures consistency and objectivity. For detailed information on measurement science and standards, refer to the National Institute of Standards and Technology (NIST).
Visual inspection remains a valuable first line of defense. Our technicians look for tool marks, chatter, or discoloration that indicate process instability. We combine human expertise with metrological data to ensure compliance.
Troubleshooting Common Defects
Even with robust planning, variables can drift. We use a systematic approach to identify and resolve surface defects.
Chatter Marks: These regular patterns result from vibration. We address this by increasing tool rigidity or adjusting RPM.
Tool Marks: Visible lines often indicate a feed rate that is too aggressive or a damaged tool. We resolve this by reducing feed or replacing the insert.
Tearing: This rough texture suggests the material is being pushed rather than cut. We correct this by increasing the tool's rake angle.
Orange Peel: This wavy texture often stems from improper polishing pressure. We adjust the finishing technique to smooth the profile.
Our team troubleshoots these issues at the source to prevent recurrence. This discipline is central to the culture of our expert team.
Conclusion
Achieving an optimal CNC surface finish requires technical knowledge and disciplined execution. It involves selecting the right tools, calculating precise parameters, and verifying results with data. We are committed to delivering parts that perform reliably in the field. Quality is not an accident. It is the result of high intention and sincere effort.


Comments